Plus Hair Curling Do’s & Dont's
Fact is, curling hair at home can be really easy. But it’s also equally easy to mess up the operation.
For example, you can burn the nape of your neck if you are careless. Or cause serious damage to your hair if you hold it around the barrel a few seconds too long (yikes!)

That's why, we have curated for you a few tips on how to use a curling iron without hurting your hair or your fingers. We hope our experiences (and mistakes) will make your hair-styling process 100X easier!
Let’s begin with the basics.
How to use a curling iron 101 – the Do’s ✅
Step 1: Select the right tool
Though there's nothing wrong with using a flat iron to curl your hair, investing in a good curling iron or curling wand is always easier. It goes a long way to ensure you have smooth, even curls and waves every time. If you want smaller curls, a clamped curling iron should do. But if you dream of having those large bouncy curls or soft waves (like JLo for example), a curling wand is the one for you!
While picking the right curling wand or curling iron, one thing you should keep in mind is the size of the barrel. Different barrel sizes create different curl styles.
As a rule of thumb, the larger the barrel size, the larger the curls you’ll get. So if you want bouncy beachy waves or loose soft curls, go with a curling wand with a big barrel size. And if tightly coiled curls are more your thing, choose a barrel size less than 1”. For waves and larger curls, opt for a curling wand or curling iron with a barrel width of an inch or more.
In our opinion, the INSERT NAME HERE XL Oval Curling Wand does the job perfectly with its oval barrel of 1.5” for Hollywood-style volume & body.

Shop INSERT XL CURLS HERE for longer, looser salon style Hollywood curls
Step 2: Prep your hair
Now that you have a curling iron or curling wand that works best for you, it’s time to get your hair ready for action. Start with completely dry hair. The heat and high temperature can damage your hair cuticles if it’s damp or wet. In fact, we’d recommend you fully air-dry your hair if possible to reduce the amount of time under high heat.
Because we don’t want to cause an ounce of damage to our precious locks in the process of curling, a heat protectant is a must-have. Follow this up with a moisturizing heat protectant. Because as much as we love curls, we don’t want to damage our precious real hair!
Step 3: Adjust the temperature of your curling iron
If you're a newbie to curling, it's best to start with the lowest heat setting on your tool. Many hair experts recommend that you keep the temperature of your curling wand below 400 degrees (with higher temperatures, the chances of hair damage and breakage are also higher).
If you notice your hair isn't curling well at the lowest temp, you can raise and adjust the temperature incrementally about 10 degrees at a time until you feel comfortable with the amount of temperature to create your desired look.
For babes with fine hair (hi), a lower heat setting usually works great. Thicker hair may require a higher temp though. Keep in mind: your oval wand heats up in less than one minute.

Step 4: Section out your hair
Sectioning and parting your hair is another important step that's often overlooked. Based on the look you want to achieve, sectioning can make a huge difference. Want voluminous curls? Section your hair horizontally before curling and curl starting from the root. Want long wavy hair? Section hair vertically.
Divide your hair into three or more layers stacked horizontally side by side, depending upon the thickness of your hair.
Clamp a few lobster clips on the topmost layers to get them out of your way as you work through the bottom section. Make sure to evenly curl every section of your hair. The more curls you create evenly, the more voluminous the end result will look!
Step 5: Start Curling
Next, start curling your hair by holding the curling iron or curling wand correctly. If you're using a curling wand like this one, hold it vertically with the narrow end pointed down. For a curling iron, you can hold it in different directions, depending on the desired look.
Curling direction matters too. For even, uniform curls, curl in just one direction. But for a more tousled look, try alternating the direction of each curl.
Tightly hold each section of hair wrapped around the curling wand for not more than five to seven seconds. Then let the curl lay in your palm for about three seconds to let the coil cool before moving on to the next section. Keep repeating until you're done.
Step 6: Ready, set, go!
Once your curls have cooled down, grab a wide tooth comb and gently comb through your curls for a less defined/voluminous look. If you want a look that's more about the body than curl, try a brush.
Finally, it's time to spritz on some hair spray or shine spray. It's a quick hairlift that will keep your hair fresh and your curls in place throughout the day (and night.)
And now… we’re gonna answer some of your most common questions on curling.
How to use curling iron/curling wand to get waves?

If you want loose beachy waves or soft big curls, then skip the curling iron and go for a curling wand instead.
Here's what the process looks like:
- Use a hairbrush to brush your hair thoroughly. Free up the knots and tangles.
- Start with the front section of your hair. Curl it away from your face. For a messier beach wave look, work in smaller sections.
- As you work through, leave an inch uncurled at the bottom to get that loose beachy wave vibe.
- As you work on the strands at the back, make sure to curl them towards your face. This will add more depth and volume.
-
Finally, run your fingers down the length of your hair and set it with hairspray.
- Better yet, save the hassle and try a hair waver!
Voila, your beachy waves are ready!

Can I use a curling iron on my already-curly hair?
Yes! Who said you can’t use a curling iron if you’re already blessed with luscious curls?
If you’re a naturally curly-haired babe, it’s seriously fun to accentuate your curls and play around with different curly hairstyles.
Want to know exactly how to style your curls using a curling iron or curling wand? We've got you covered, babe!
- As always, be sure to apply a heat protectant to your strands before going in with hot tools. Safety first!
- Once completely dry, wrap small sections of your hair around the curling wand from the roots to the tips. Hold for 3-4 seconds while keeping the tension firm before letting go.
- Finally, set your gorgeous new curly hairstyle in place with a hairspray. And for some extra shine & hydration, finish off with some Super Shine Serum.
@itsessi Wand Curls Tutorial 🤎 #curlyhair #wandcurlstutorial #wandcurls ♬ OKAY SHAWTY - Kwe the Artist
Frequent curling iron mistakes – the don’ts ❌
- Never forget your heat protectant! Check out Flame Fighter. Made with powerful conditioning ingredients like Grape Seed Oil, Acai Berry, and Green Tea that shield your hair from thermal damage, and leaves hair soft and shiny.
- Do not start with higher heat settings - no matter how well you think you know your device. Start from a lower temperature and gradually increase the heat to make sure your hair remains healthy in the long run.
.
Psst, babe…
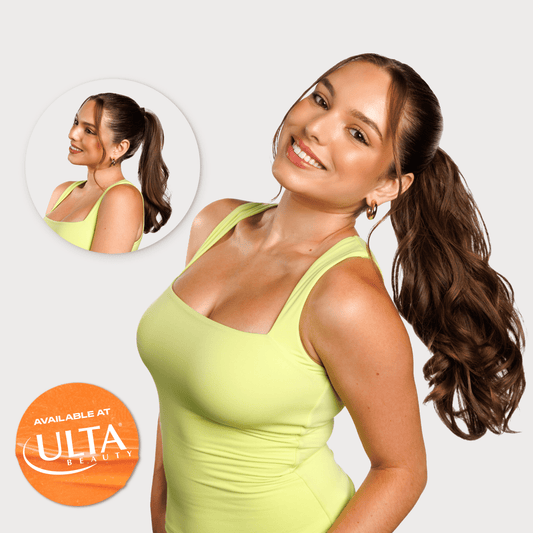
Want to avoid the hassle of curling and skip to the good part? Just try one of our transformative curly ponytail extensions like Chloe, Aly, Shayla, Sharon, Maddy and Zoe!

We want to see your curly hairstyles, babe! Tag us on Instagram, Tiktok, Pinterest, Twitter & Facebook and use the hashtag #INHBabe!


