

Just because festivals got canceled doesn’t mean fun hair has to be. Our Fairy Floss is the perfect addition to switch up your look. Add a pop of color to braids and ponies without the commitment. Fairy Floss is cute, colorful, and made for way more than your Coachella lookbook. Keep reading for tips and tricks!
This first look came from INH Babe Anastasija! You can check her out on Instagram at @anastasija___makeup. She shows us how to spice up your hairstyle with a little bit of color and fun braids.
For this look, she used Fairy Floss in the shade Razzle Dazzle, three to four hair ties, and some bobby pins (Jordynn recreated the look using Limeade).
This look is very easy to recreate; just follow the tips below
- Gather your hair in a tight high or mid pony and secure it with a hair tie.
- Flat out any flyaways with some hairspray on a toothbrush.
- Remove the Fairy Floss from the package and leave the rubber tie secured tightly in the middle. You will use the rubber band in the next step.
- Using the rubber tie that comes attached to the middle of the Fairy floss wrap it around your existing pony until the Fairy Floss is secured.
- If you have already removed your rubber tie, use any hair tie you have (small rubber bands preferred) to loop around your Fairy Floss section - then proceed with attaching to your ponytail. The hair tie around the fairy floss should look like the images below.


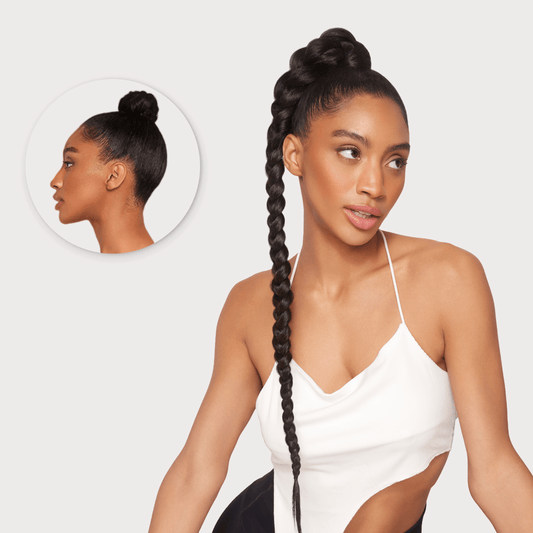
- To add little braids to your pony (like in the images below), take two or three sections of the Fairy Floss and start braiding it into your natural hair. These are optional, but take your pony to the next level by adding a bit of texture and fun!
- Take another section from the rest of the Fairy Floss and tie it around the root of your pony, then pin it down with a bobby pin.


And you’re done! What’s left of the Fairy Floss should look like a colorful pony, decorated with some ombre-braids, and it’s actually wearable for most occasions.
Hope you enjoyed <3
Next up, we are going to be showing you two ways to braid your Fairy Floss.
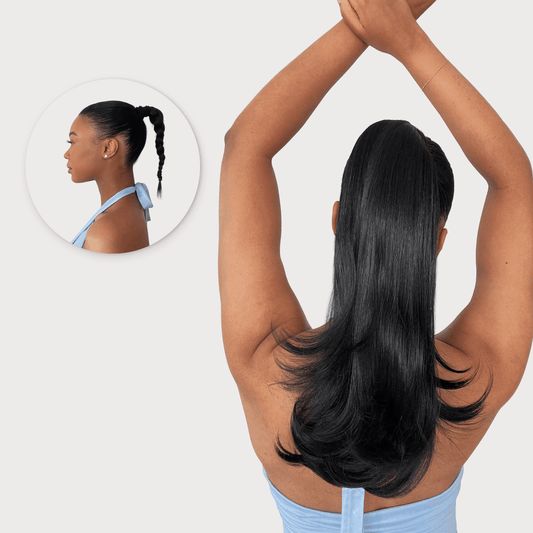
The first way to braid is to add one section of Fairy Floss at just the beginning of your braid. This will create beautiful full braids while also being one of the most straightforward applications!
- Split your pack of Fairy Floss in half, then use a hair tie to secure the loose hairs. This process will help you keep the fairy floss together while also making it easy to work with and reuse.

- Once your Fairy floss is secured into sections, secure the Fairy Floss into your hair. There are two ways to do this.
- The first way is to place your section of Fairy floss between two pieces of your hair and then secure with a small hair tie.

- Another way to secure the Fairy Floss is to wrap a small hair tie around your section and put one end of the hair tie through the other and create a loop. Look at the 5th bullet of the pony tutorial above to see images of what this will look like.
- The Fairy Floss should now be secured near the front of your head. Start French or Dutch, braiding your hair. A French braid will lay flat while the Dutch braid has more definition and pops out. Incorporate the Fairy Floss into all three sections of your braid. For all those visual learners, check out a video tutorial here!
You will simply braid until you have reached the end of your hair!
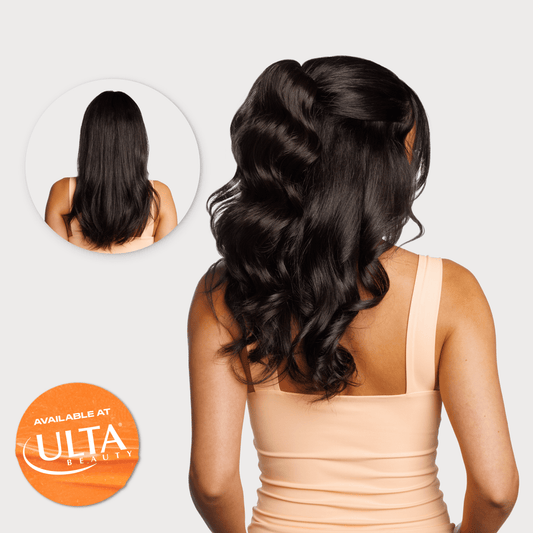
The second way you use Fairy Floss for braids is by adding Fairy Floss sections throughout the braid. This will still create full braids but also adds more length to your look.
- Same as the steps above section, your Fairy Floss and hair tie it. If you have one pack divide it in half, then in half again and then one more time - you should have eight sections
- Once again, the same as above, attach your first section of Fairy Floss to your hair.
- After you have started your braid add in another section of Fairy Floss every other time, you add hair into the braid.
- Adding in hair will take some practice. I like to place the Fairy Floss under the hairs I am working with and add it to the middle piece of the braid as well as the braid piece farthest from your face.
- If you divide your Fairy Floss into 8ths, then you will add four sections on both sides. Make sure to add the sections at the same point in each braid - this will ensure your braids are the same length when you are done.
Here is a side by side of the two styles of braids so you can see what look you want. On the top, you will see the braid where all the Fairy Floss was added at the beginning, and on the right, four fairy floss sections were added on each side as I braided. Both these looks used one full pack of Fairy Floss.


The last look we are going to be talking about is little braids to frame your face. This is a fun and unique way to add a little pop of color to any look!
- Start with a small section of Fairy Floss. The amount you choose will determine how big your braids are. For thinner braids, you will use less Fairy Floss.
- Once you have decided how big you would like your section, it's time to braid! You can follow the steps above and connect the Fairy Floss into a section of your hair or simply begin braiding.
- The Fairy Floss will be two of the three sections of your braid. If you want to add length once your braid is started and Fairy Floss is secure, incorporate some of the Fairy Floss into the third section of your braid. This will allow the braid to be as long as the length of the Fairy Floss.
Once you have reached the length, you like simply use a hair tie to secure the end of your braid and trim the excess Fairy Floss.
If you are looking for even more inspiration, check out this mini video tutorial with Britt!
Now for some overall tips!
- Secure your sections! Using clear elastics is a great way to get the most out of your Fairy Floss. Clear ties also keep your look clean and hair ties hidden.
- For full braids, use a pack and a half or even two! This will give you incredible volume and a long braid.
- The possibilities are endless; there is no right or correct way to use this product. Let your imagination run wild and add a pop of color to any looks.
- Store your fairy floss in braids after use to avoid any tangles
- Even though you may only need one pack for a look, having multiple packs allows you to have the Fairy Floss prepared for different looks. I have one pack split in half for the full braids, one split into 8ths for the longer add-in braids, and a third just for doing small braids like Sharon is rocking above.
Make sure to tag us in all your Fairy Floss looks on Instagram at @insertnamehere and use #inhbabe.