Hey Babes!💓
We’re so excited about our new launch, Fairy Floss! It’s been getting a lot of love from our INH Babes on social media, so we thought we'd share a fun tutorial with you all! Today’s blog is about helping you create the most magical look with one of our favs!
Fairy Floss comes in a braid, but it’s actually made of individual strands of colorful synthetic fibers. You can take these fibers apart and use them for feed-in braids! Feed-in braids are a style where you start with your natural hair and add in synthetic hair as you braid. Fairy Floss can also be used in different styles of braids!
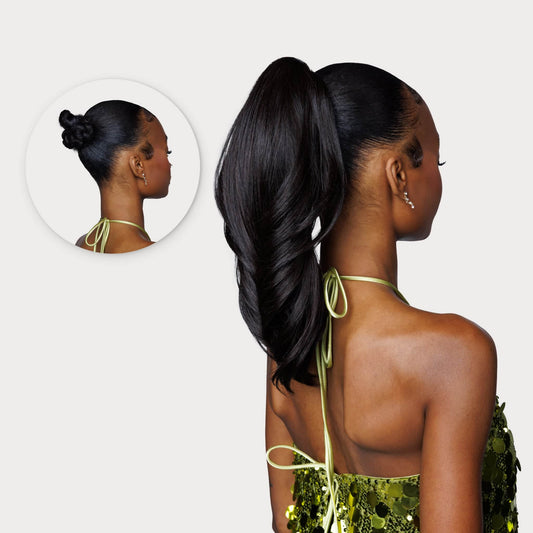
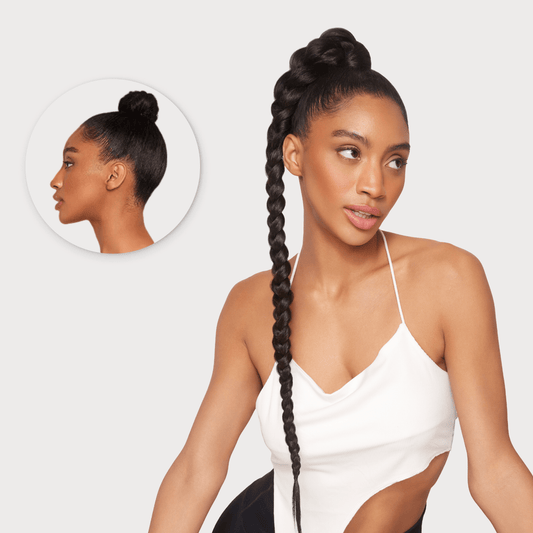
@Sabrina.porsche created these two very different looks using Fairy Floss. We love to see versatility. (Sprinkled with some IGK Magic)

Frida Sahlin teaches you how to create Dutch Bubble Braids using Fairy Floss in her video below!
Step 1: Create a middle part
Frida suggests a middle part for the most even looking braids. She uses a comb to create a perfectly centered part. We suggest using a tail comb or your fav parting comb!
(Pro-tip: tie the section you aren’t working on with a hair tie to avoid confusion!)
Step 2: Section off a front piece
Section off a front piece of hair near your temple. This is where you’ll be attaching Fairy Floss. Make sure to keep this piece separate from the rest of your hair!
Step 3: Separate Fairy Floss
Frida suggests using one pack of Fairy Floss for a pair of braids. Separate Fairy Floss into two sections as evenly as possible.
Step 4: Divide your front section
Now that you have your Fairy Floss separated, you can start attaching it to the front section of your hair! Start by dividing the front section into two even pieces.
Step 5: Start attaching Fairy Floss
To attach your Fairy Floss, put it in between the two pieces of the front section. Place the Fairy Floss on top of the bottom section and let it hang in a upside down U shape. Then take a clear elastic and tie the two sections of your own hair together with Fairy Floss sandwiched in the middle. You should have 3 sections: 2 of Fairy Floss and one of your own hair!
Step 6: Dutch Braid
If you don’t know how to Dutch braid, we suggest watching a separate tutorial to practice, but Frida does a great job of walking you through the process! Think about a normal braid. A Dutch braid is the same concept, but you’re braiding under! Take the outside piece and braid under the middle piece. Repeat with the inside piece. Since it’s a Dutch braid, pick up hair from each side every time you braid. Follow along with Frida and continue all the way down!
Step 7: Finish with Bubble Braid
You can either choose to finish your braid by continuing to braid it all the way down or you can follow Frida’s lead and do bubble braids! Start by securing your braid with a hair tie. Use a section of Fairy Floss to wrap around the hair tie and secure that with a clear elastic.
Decide how big you want the bubbles to be, then secure with a clear hair elastic. Once you’ve applied the elastic, pull the section on both sides to create a bubble effect. Continue this all the way down the ponytail!
Step 8: Repeat on the other side
What you do to one side, you gotta do to the other! Repeat this process on the other section of your hair :)
That’s all there is to Fairy Floss. Like Frida said, it does take some practice, but we are in love with the results! Shop now to get your own packs of Fairy Floss and follow along with Frida’s tutorial!
We’d love to see your Fairy Floss looks! Tag us on Instagram at @insertnamehere and use the hashtag #INHBabe!


